

Tutorial: your first investigation
This guided walkthrough takes you from an empty workspace to a finished, exportable report. It uses a ready-made sample dataset so you can focus on learning the tools rather than typing data.
By the end you will know how to import data, navigate the graph, inspect and edit elements, run a resource, and export a report.
Time needed: about 15 minutes. You only need a desktop browser — no account, no API key.
What you'll build
The sample is a network mapping a documented, public-record case (the Epstein network): 57 entities (people, organisations, locations, accounts) connected by 85 relationships. It is a realistic graph to practice on.
⬇ Download the sample dataset (epstein-network.json)
Step 1 — Create an investigation
- Click Investigations in the navigation bar.
- Click Add.
- Name it
Tutorial — Epstein networkand leave the rest at their defaults. - Click Add.
You land in an empty workspace. See Create an investigation for the full form reference.
Step 2 — Import the sample data
The sample is a JSON file containing entities and relationships. You import it into the investigation you just created (this is different from importing a whole .osintracker database).
- Make sure nothing is selected so the investigation information panel is shown on the right.
- Open the panel's ⋮ menu and choose Import → select the
epstein-network.jsonfile you downloaded. - The entities and relationships are added to the graph.
If you import the file twice, Osintracker detects the duplicate IDs and lets you Merge, Create or Skip each one. See Import JSON data.
Step 3 — Find your way around the graph
The graph can look dense at first. Tidy it up:
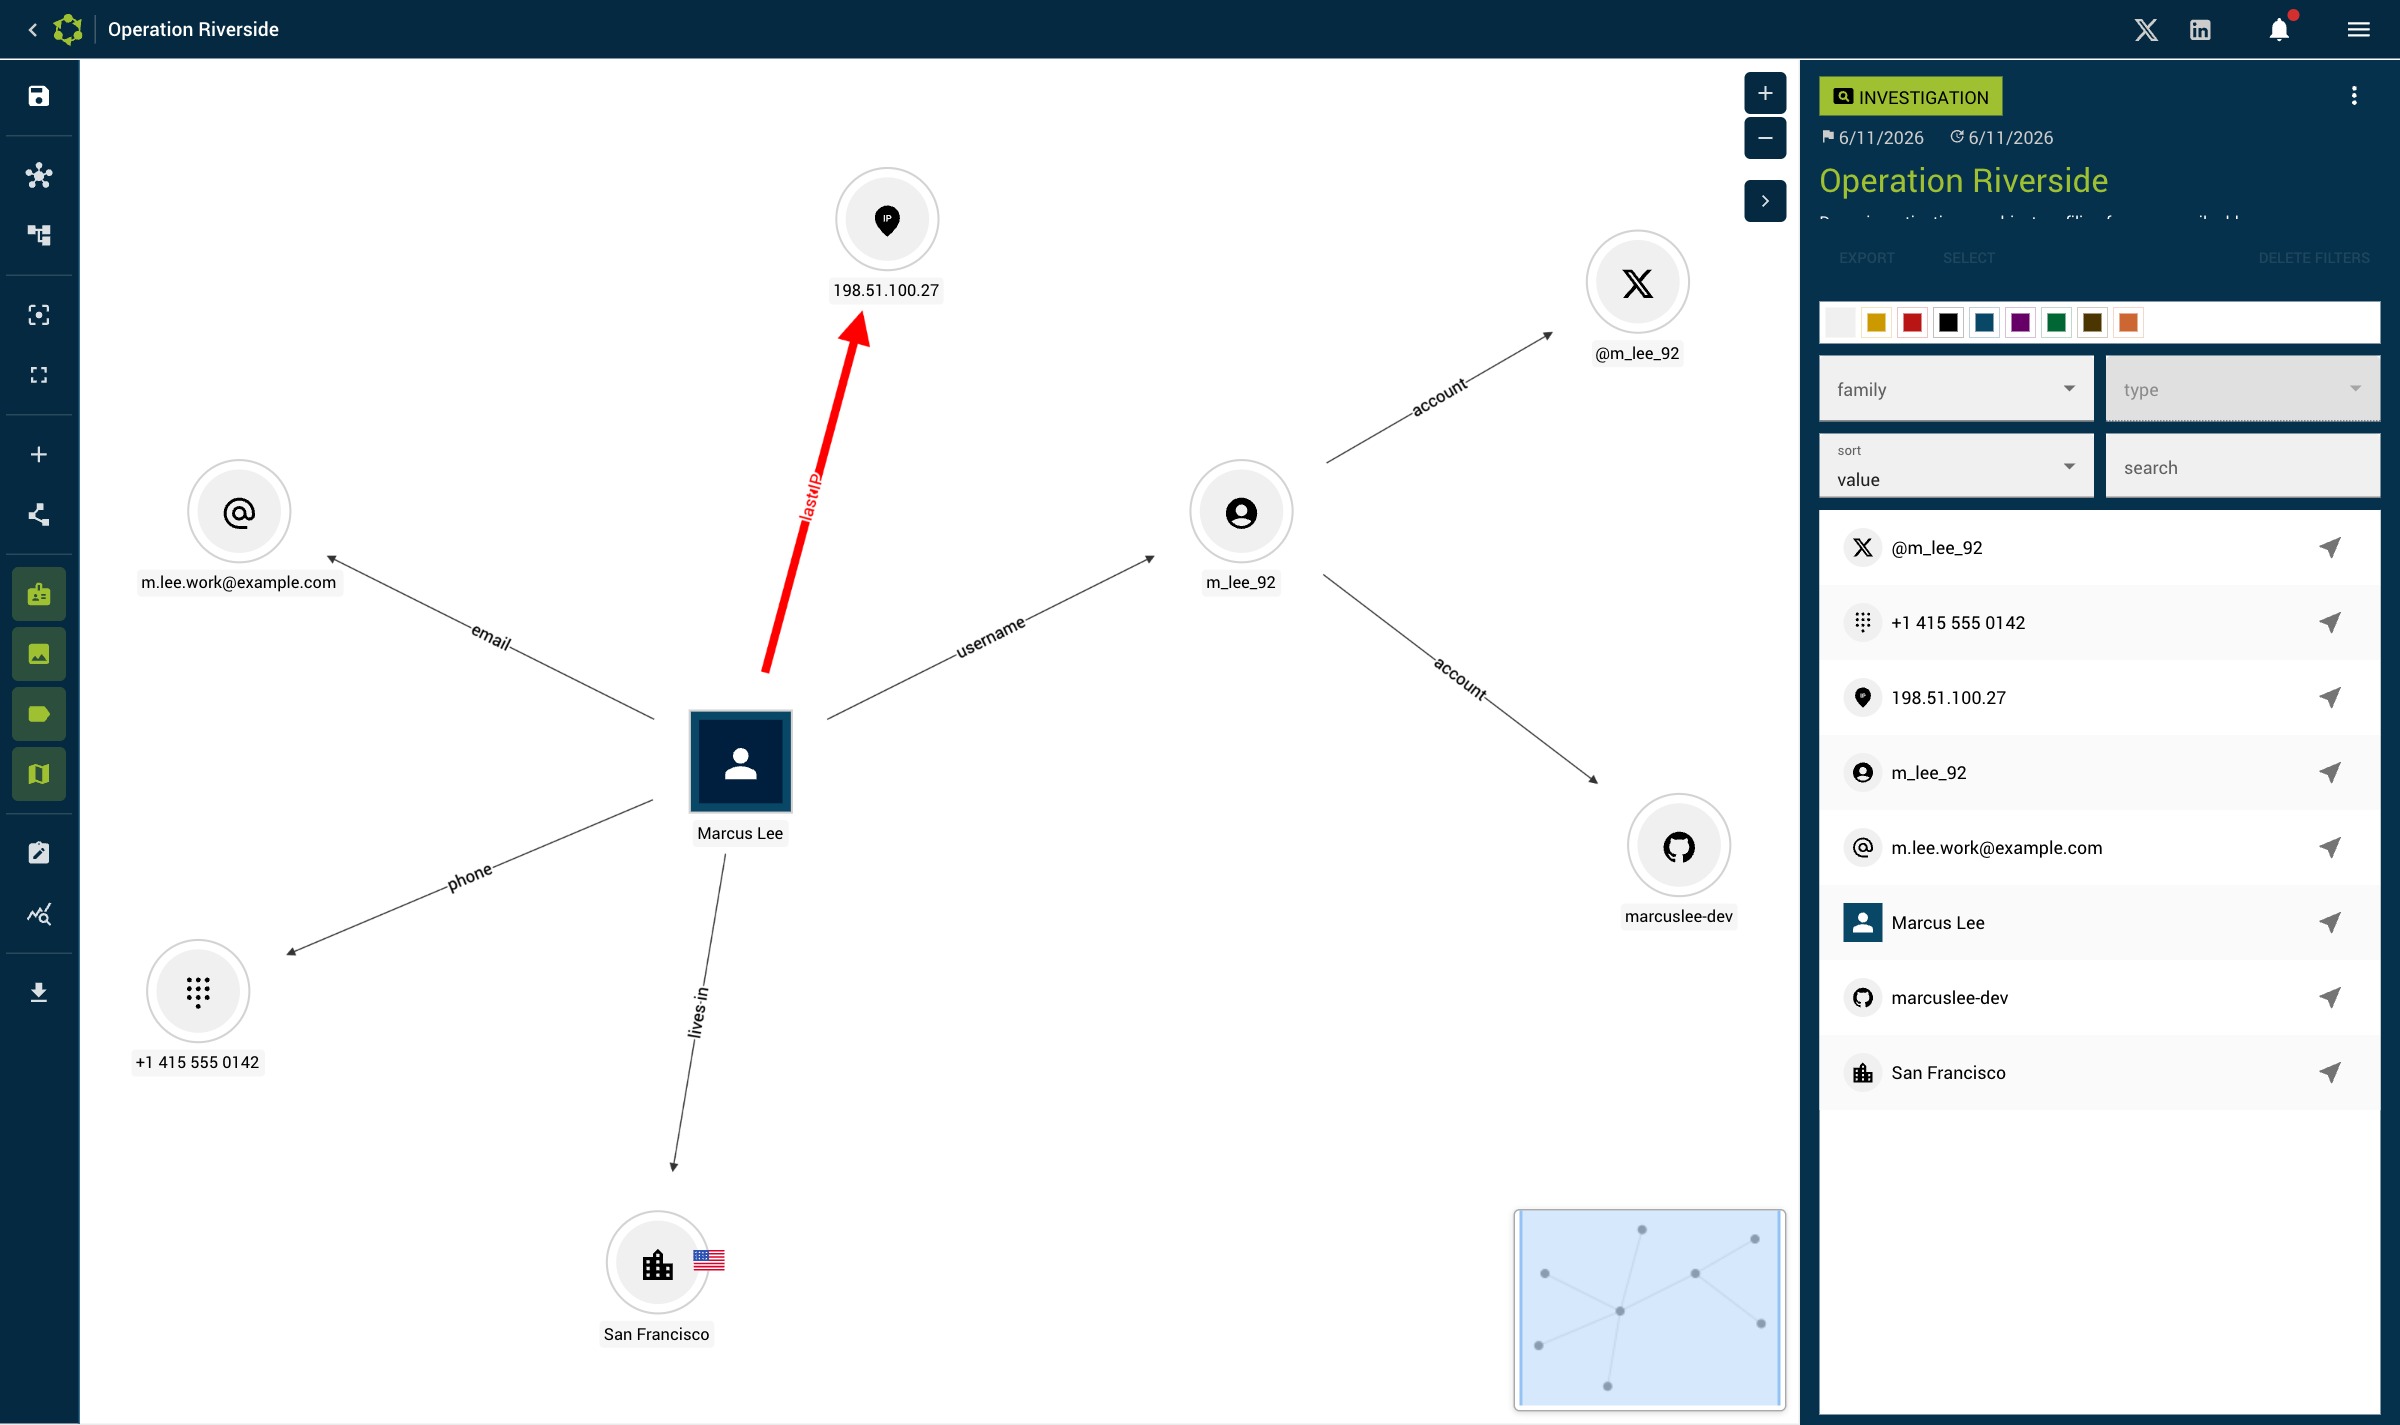
- Click Mesh layout in the toolbar for a balanced, physics-based arrangement, or Tree layout for a hierarchy. See Layouts.
- Use the scroll wheel to zoom and drag the background to pan.
- Click Center to recenter on the whole graph.
- Once you like the arrangement, click Save positions so it is restored next time.
Try the toolbar toggles Hide labels / Hide images to declutter a busy graph.
Step 4 — Inspect an entity
- Click the Jeffrey Epstein node. The entity detail panel opens on the right.
- Notice the visual cues already set in the sample: a red outline (critical), a progress badge, and a node size/colour.
- Read the Description field — in real work this is where you record context and your reasoning.
- Scroll the panel to see the relationships linked to this entity and the resources available for its type.
Step 5 — Add your own data
Let's extend the graph.
Add an entity:
- Click Add entity in the toolbar (or right-click the background).
- Choose a type (e.g. Generic › Email address), enter a value, and confirm.
Connect it:
- Select one entity, then hover the other and click the relation symbol that appears on it.
- In the dialog, add a label (e.g. "registered by") and a source so the link is documented.
Recording a source on every relationship is the single most useful habit in an investigation — see Methodology.
Step 6 — Run a resource
- Select an entity that has a value a tool can use (e.g. an email or username).
- In the detail panel, open the Resources section.
- Click a tool to open it with the entity's value pre-filled, then mark its progress (e.g. Done).
This is how you pivot from one piece of information to the next. To enrich an email/phone/username automatically from a JSON export, see OSINT connectors.
Step 7 — Export your report
- With nothing selected, open the information panel's ⋮ menu → Export.
- Pick a format:
- HTML or Markdown for a readable report,
- CSV/JSON for further processing,
- PNG for a snapshot of the graph.
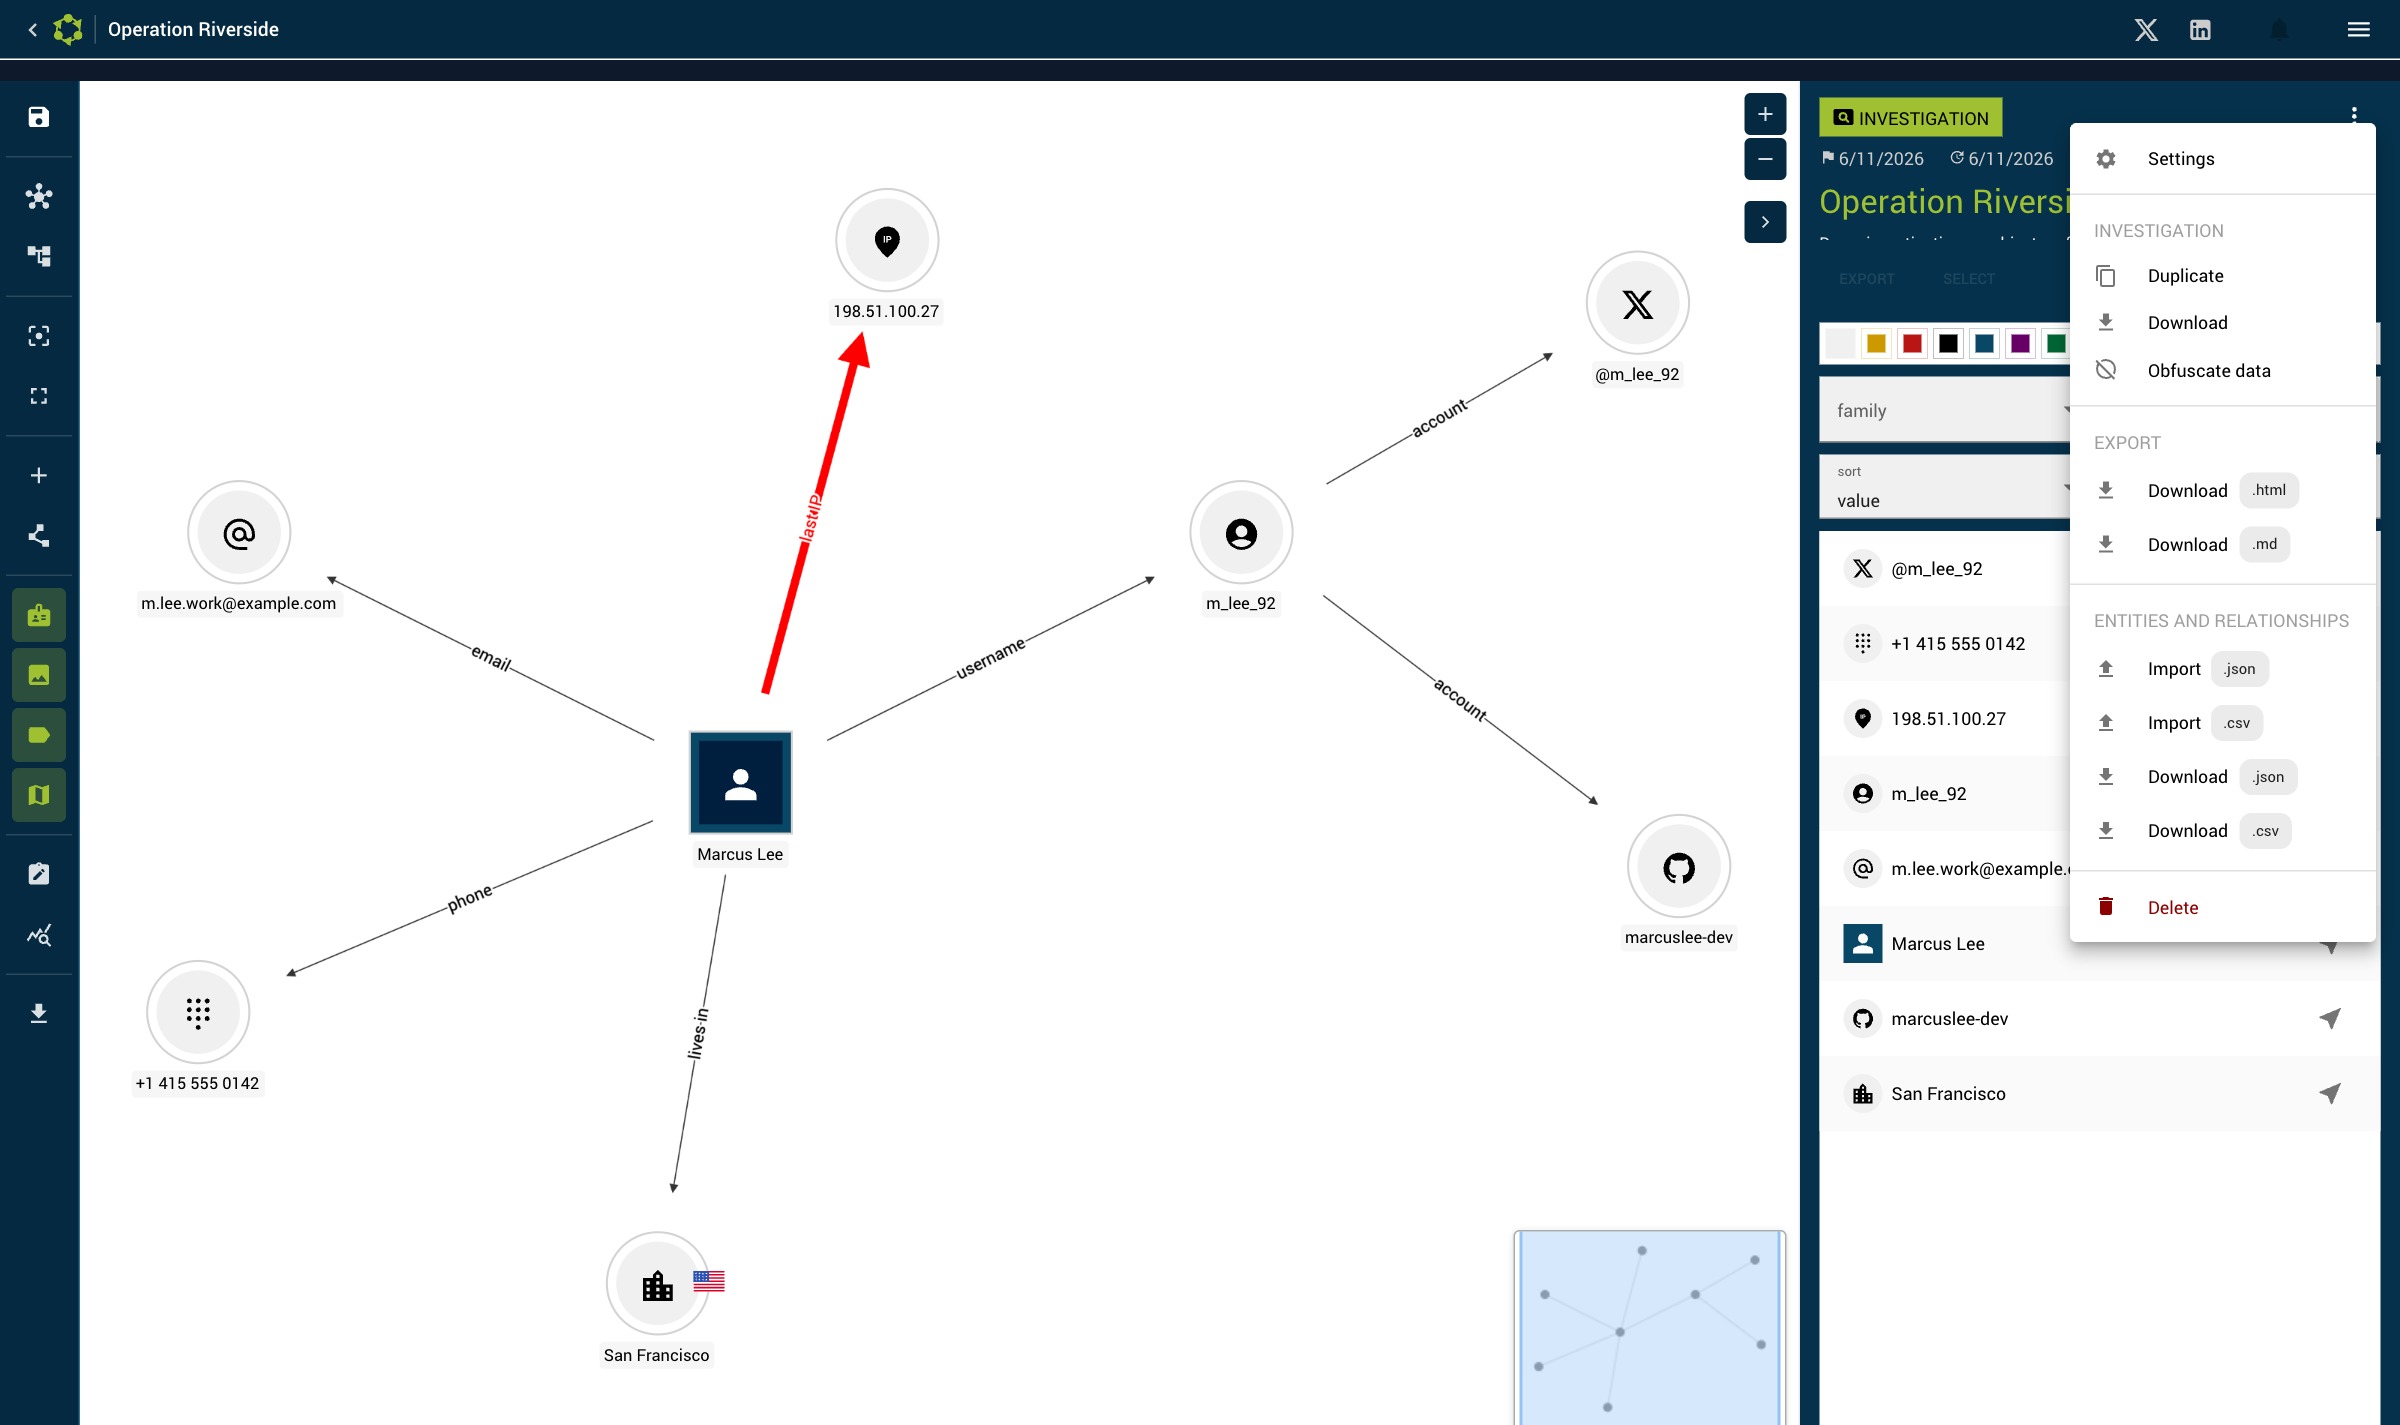
See Import & Export for what each format contains.
Step 8 — Back up
Your work lives only in this browser. Before you close it:
- Main menu → Export the database to save a
.osintrackerbackup of everything.
See Backup for the recommended rhythm, and Privacy & data for how Osintracker handles your data.
Where to go next
- Methodology & best practices — structure and source an investigation properly
- Operational security — protect yourself and your sources
- Graph reference — every interaction and toolbar button
- FAQ & troubleshooting — quick answers to common questions